
**Reasons to Purchase**
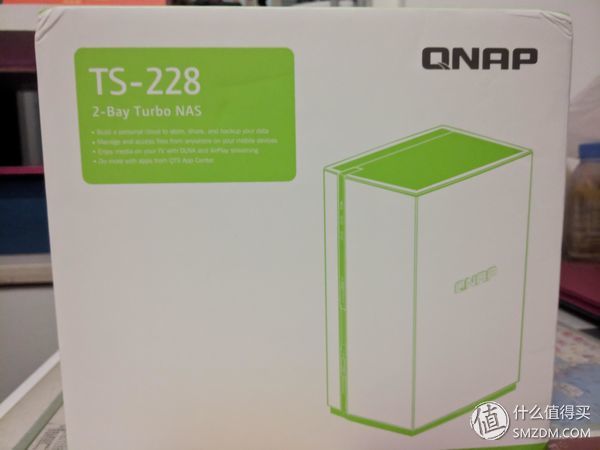
In Aunt Zhang’s case, she was out of the box and planted all kinds of grass. I couldn’t help but buy one in the last week of 2017. Due to financial restrictions, I ended up purchasing the affordable QNAP-228.
Why am I writing this now? Well, partly because I’m lazy… but also because I want to share my experience with others who might be considering a similar purchase.
**Appearance Gallery**
(To be honest, the lighting in my study isn’t great—please forgive me.)
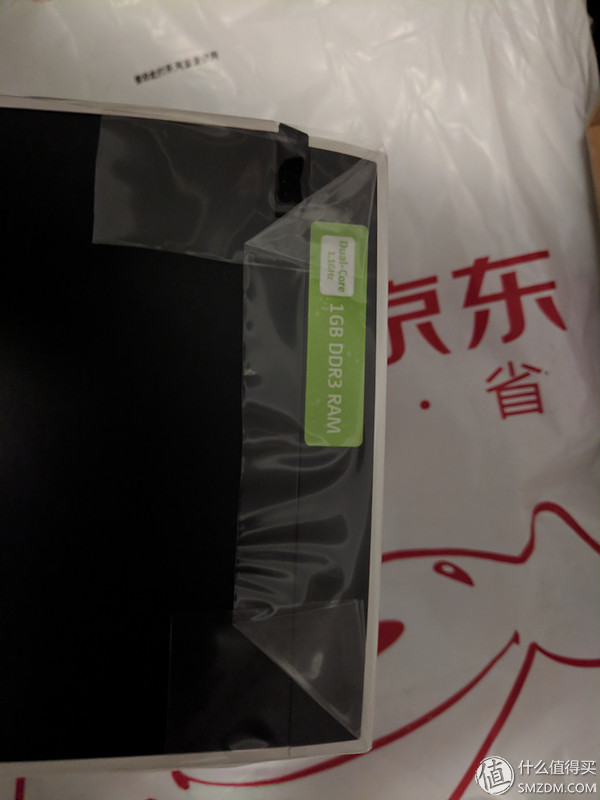
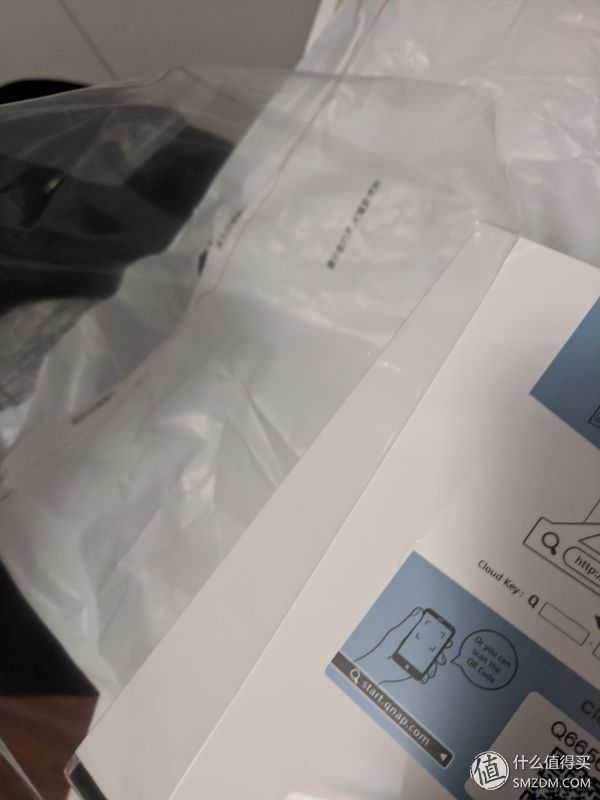
On JD, the package was labeled as JD.

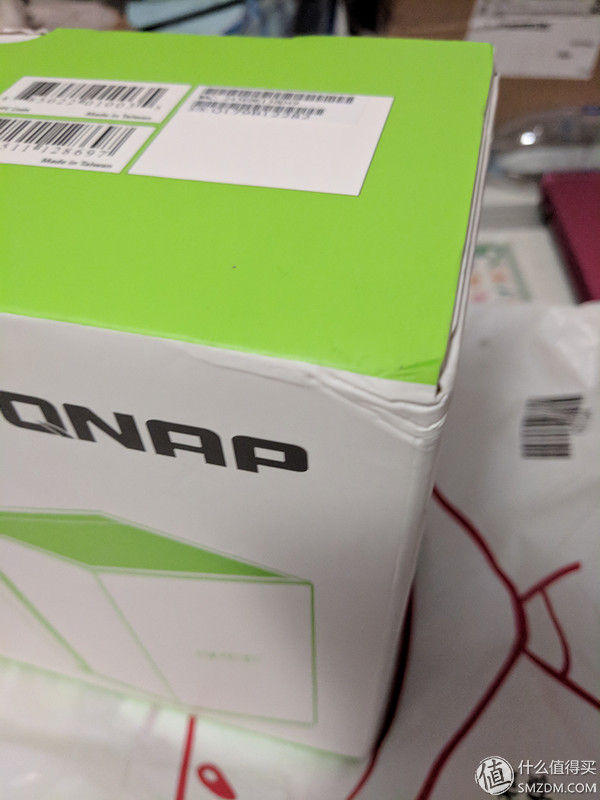
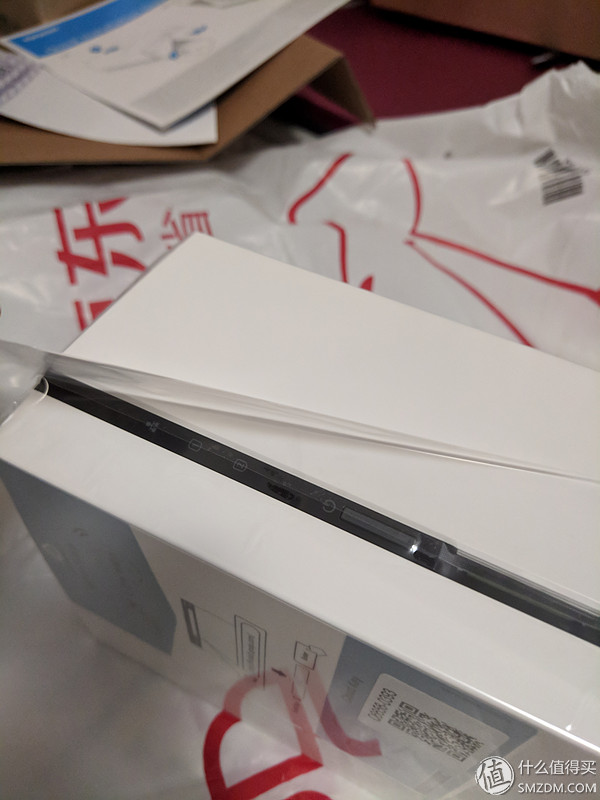
Inside the bag, there was the packaging of the device itself.
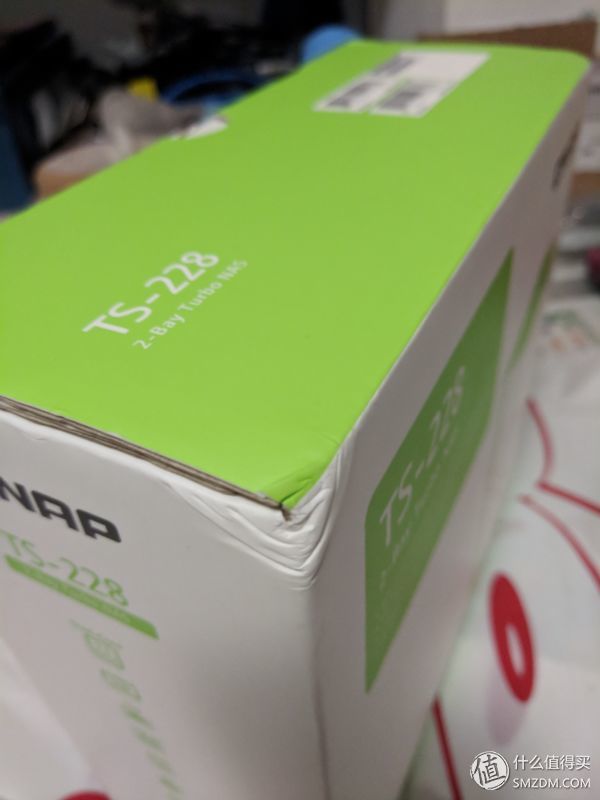
There were some minor impact marks on all four corners of the box, but nothing serious.
**Opening the Package**
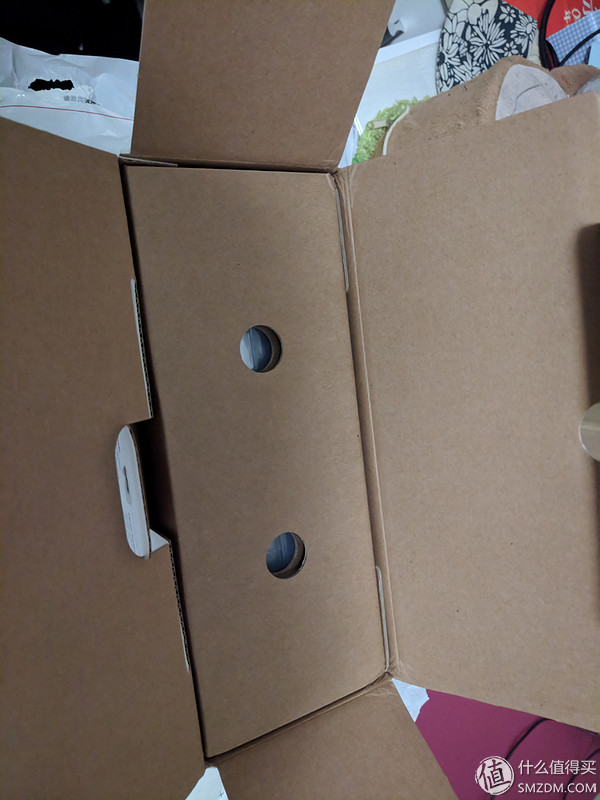
The device came in a drawer-style box, which I had to pull out manually.

After pulling it out, this is what I saw.

I opened both sides first. On the left, there was a Gigabit Ethernet cable, and on the right, the power adapter.
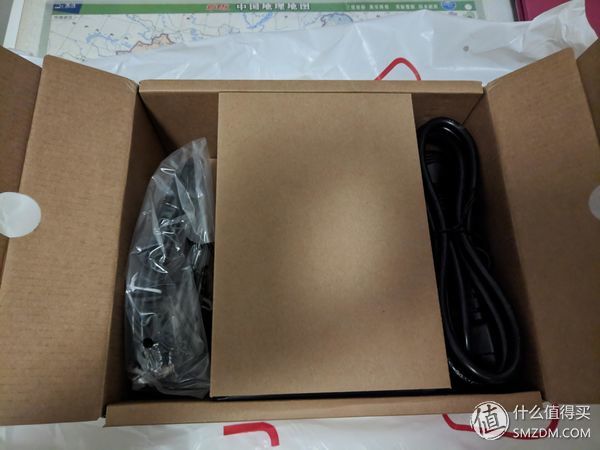
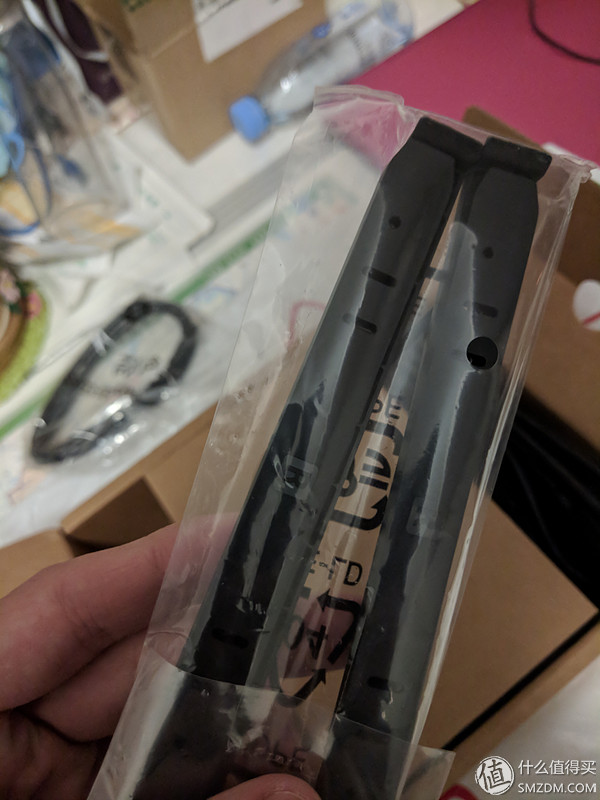
Two pairs of hard disk bezels were hidden under the network cable. These allow you to fix the hard drives without using screws.
Here are some recent photos of the network cable:

Although it's Gigabit, there's no mention of power line support.

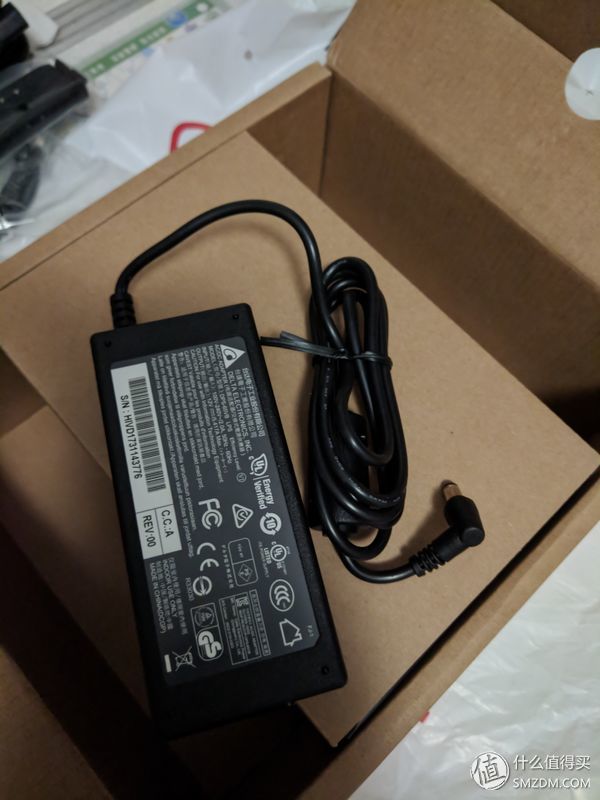
Three-headed adapter.

This adapter isn't too small compared to my laptop's power supply.
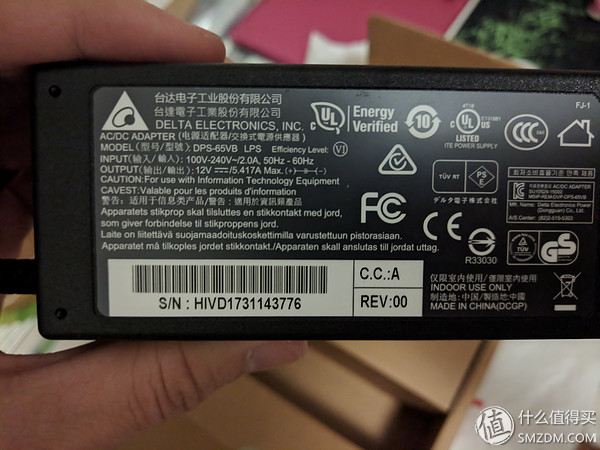
**Specification:**
Delta's adapter.
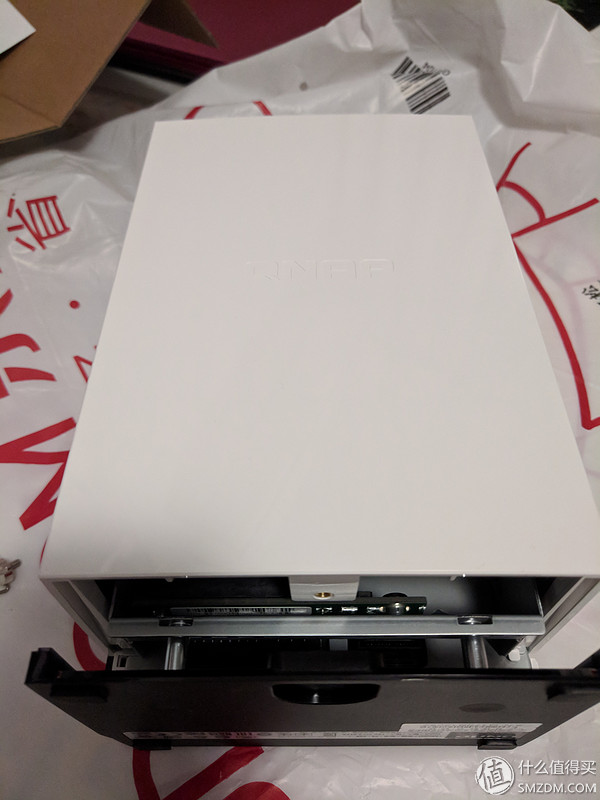
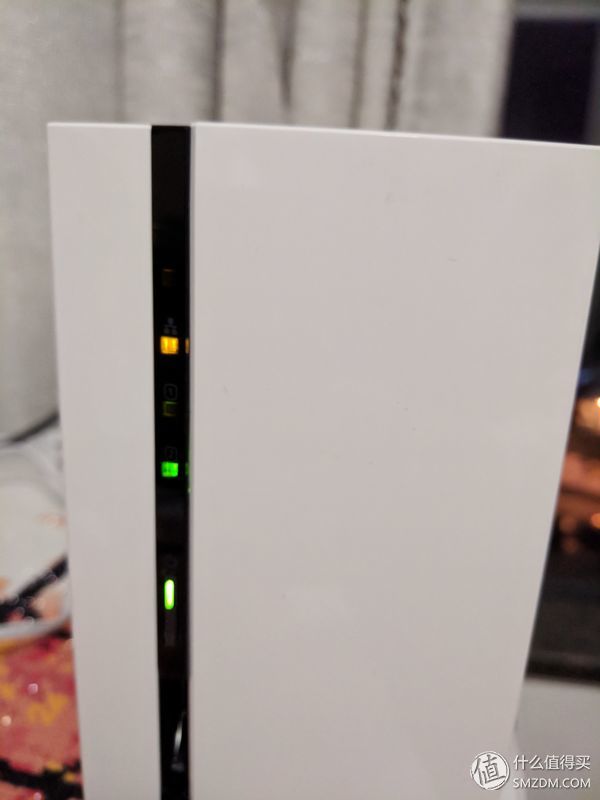
Finally, the main unit:
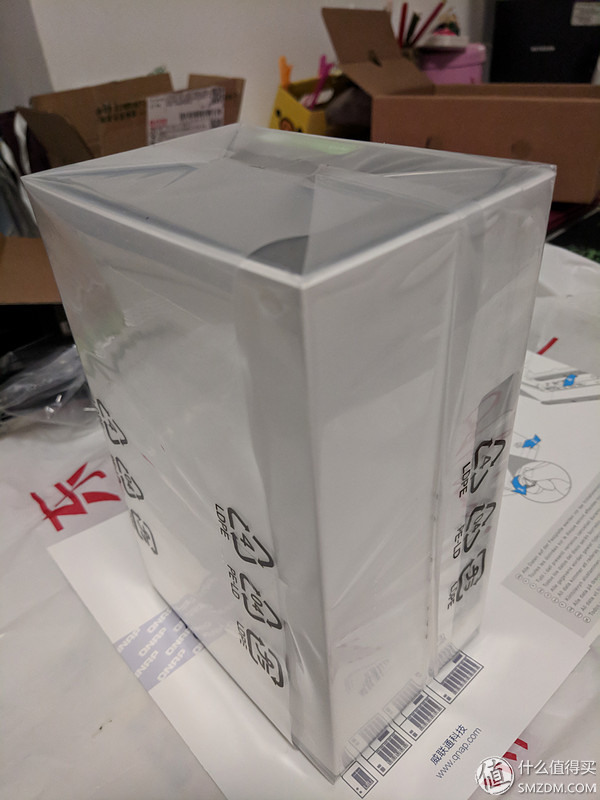
It was tightly wrapped. After tearing off the outer film, there was a thin inner layer.


**Membrane**
**QNAP Logo**

**Loading the Hard Disk**

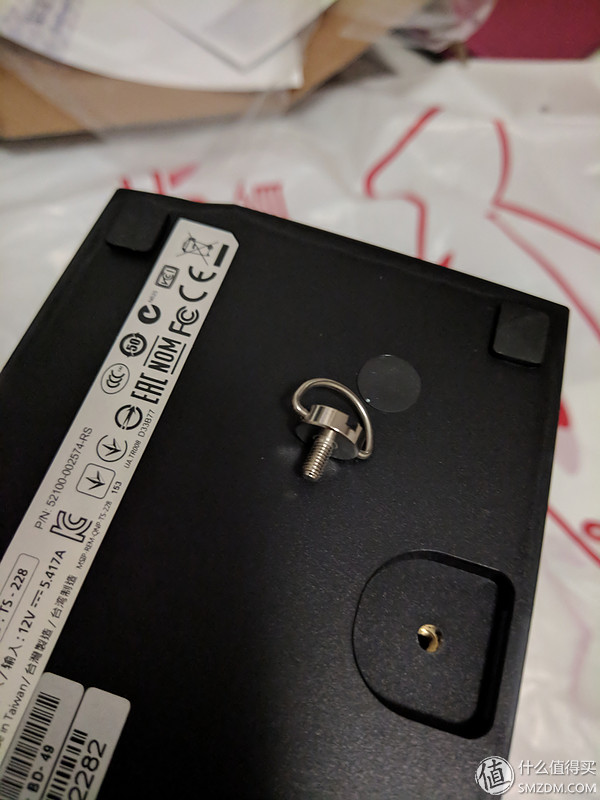
The screws underneath can be opened without a screwdriver. Just push the shell to open it.
**Internal Photos**
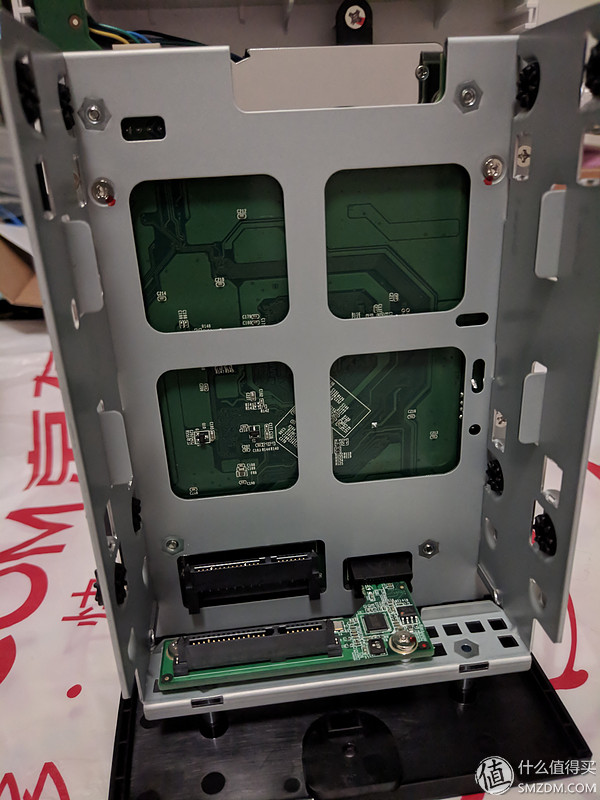
SATA3 interface (two ports).
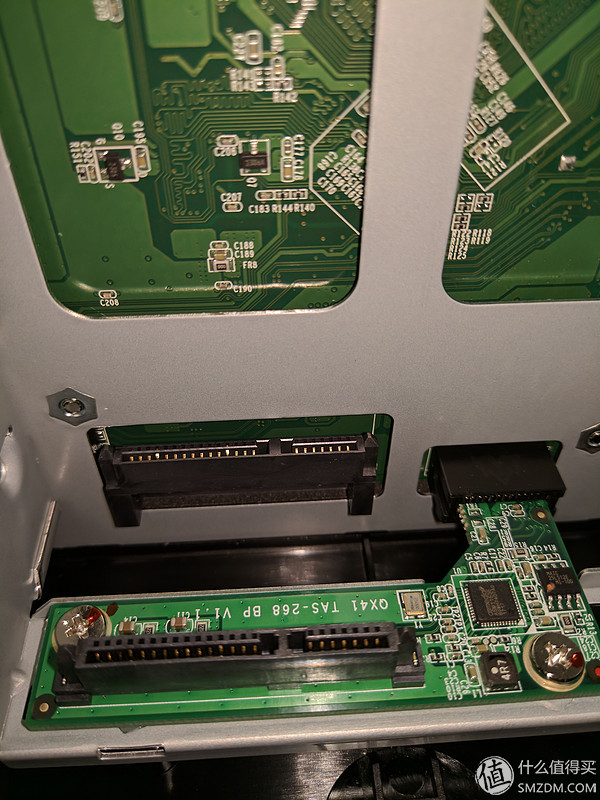
The official documentation says only 3.5-inch drives can be used, but I managed to install a 2.5-inch drive as well. It works fine with screws. I used my own Mi Gigabit network cable to boot it up!
Use the website printed on the shell to install the system or enter the IP address directly. I lost my IP for a while, but eventually got it sorted.

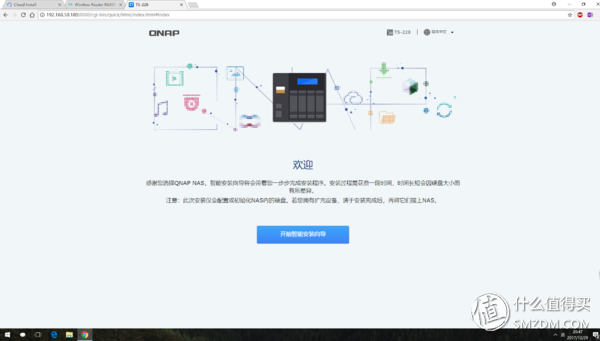
During setup, it asks about RAID configuration and basic settings.
After that, just wait.
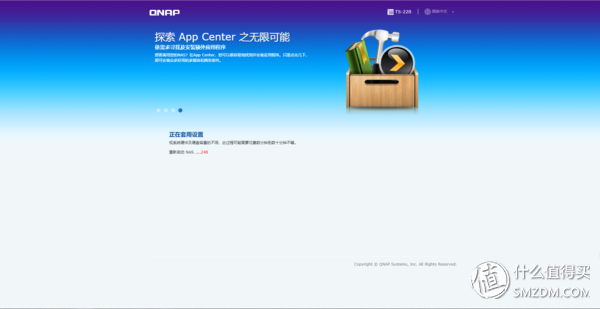
Once installed, you can log in via the IP address.
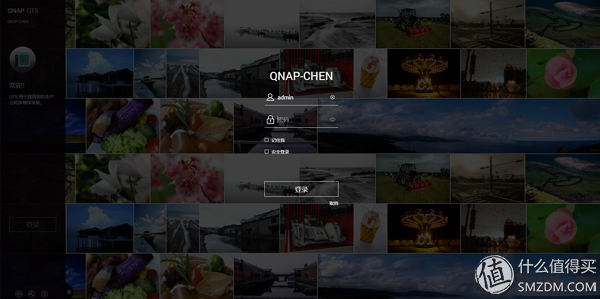
Log in with your account and password—it shows the main interface.
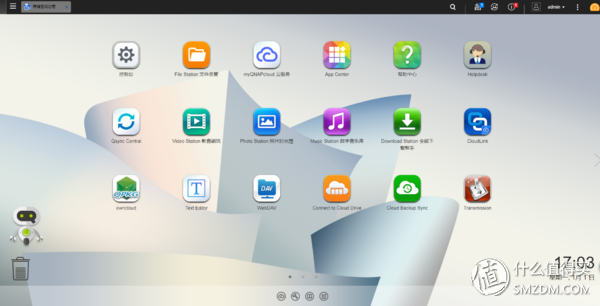
I installed some apps, and QSYNC is definitely a good one.
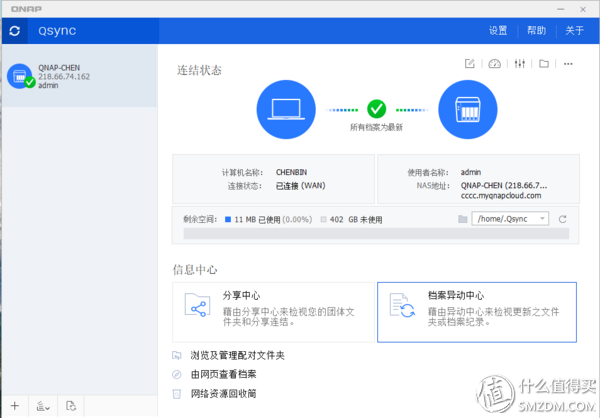
It allows file synchronization even when you're outside the network (as long as you have a public IP, you can access it through the internal network).
There are many more features. I didn’t go into detail on each one.
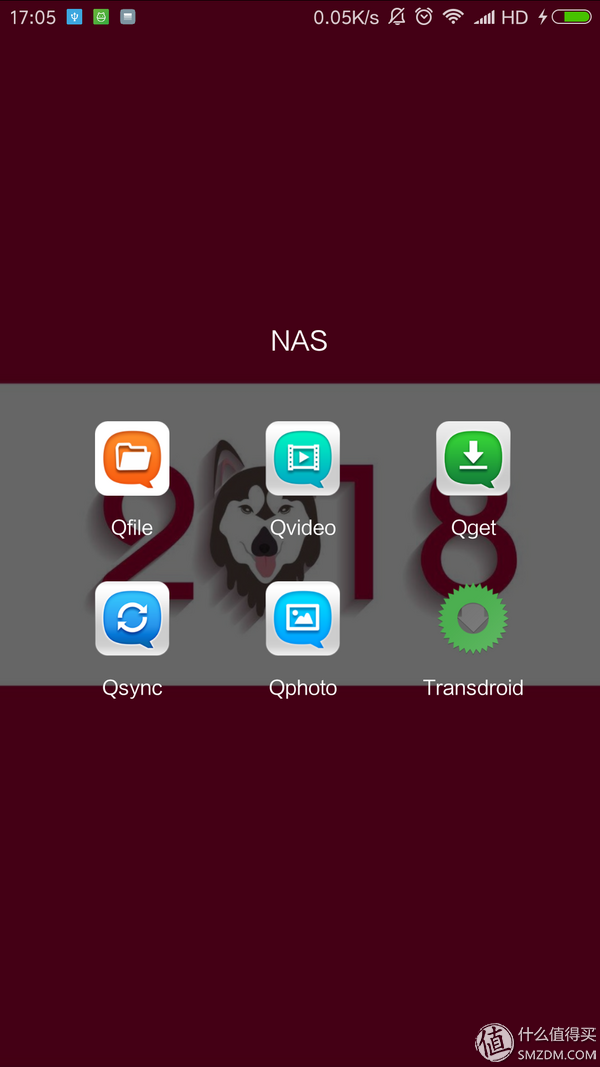
There are also many mobile apps available.
The last one is its integration with Transmission.
Some functions are duplicated across apps, and not everything integrates perfectly. The speed runs close to full Gigabit, though. Some files can reach 90 MB/s, while others are slower, but it’s enough for watching videos. Power consumption wasn’t measured, but the official specs say 6W and 13W. Thanks to the ARM architecture, it uses very little power.
The noise level is low, and it stays quiet even when running.
**Summary of Advantages:**
- Affordable, grabbed on JD with a coupon for around 700 RMB (though it might be cheaper now).
- Sufficient for most people’s home use, with near-Gigabit speeds.
- Good-looking design.
- Low power consumption, energy-efficient.
**Disadvantages:**
- Because it's based on ARM architecture, some plugins may not work as expected.
- The official Download Station is not very user-friendly; I prefer using Transmission instead.
**Final Thoughts:**
It’s an affordable and feature-rich NAS. If you don’t have high demands, this is definitely a solid choice.
Pet Braided Sleeve,Braided Wire Sleeving,Pet Cable Sleeving,Pet Expandable Sleeving
Shenzhen Huiyunhai Tech.Co., Ltd. , https://www.cablesleevefactory.com